Oops! Something went wrong while submitting the form.


The complete Subnautica 2 Early Access progression walkthrough: every ore, every Blackbox, all the essential tools, and the final power plant sequence.
Subnautica 2 just dropped in Early Access and there is a genuinely huge amount to do, so this is the only progression guide you will need to go from floating next to your lifepod with nothing to cruising through alien ruins in a fully upgraded Tadpole. We will cover every ore, every Blackbox, the essential tools and upgrades, and the final power plant sequence that closes out the current build. We also have a full video walkthrough of this exact route on the YouTube channel if you would rather watch it.
Before anything else you need water, and in Subnautica 2 water does not come from a machine you start with. It comes from Water Slugs, the cute transparent colorful creatures drifting just below your lifepod and tucked into the caves around spawn. Scoop a few up and convert them into water bottles at the fabricator inside the pod. There are plenty of other fish swimming around that you can cook later, but right now you cannot eat them, so for the opening stretch just snack on the Nutrient Blocks sitting in the lifepod storage. Grab the medkit in that same storage while you are there.
The most important early habit is to actually listen to every broadcast from NoA, the AI assistant on your pod. Those messages are not flavor text. Each one unlocks a new location on your HUD where upgrades and story beats are waiting, so the whole progression basically unspools from listening to her.
Directly below the lifepod there is a little cave with a Portable Locker inside, and that same pocket is packed with Titanium. Grab the locker and load up. Also keep an eye out for the air plants dotted through these shallows, they top off your oxygen for free whenever you swim past, which saves you a lot of panicked surface runs early on.

You will be hunting ores for the entire run, so it is worth knowing what each one is, where it hides, and what it unlocks before you waste hours swimming in circles. Treat this section as your reference and come back to it whenever a recipe asks for something you have not seen yet. A good rule across the board: caves are almost always faster than open water, and once you unlock the Sonic Resonator later you can shatter the big nodes for a pile of resources in one hit.
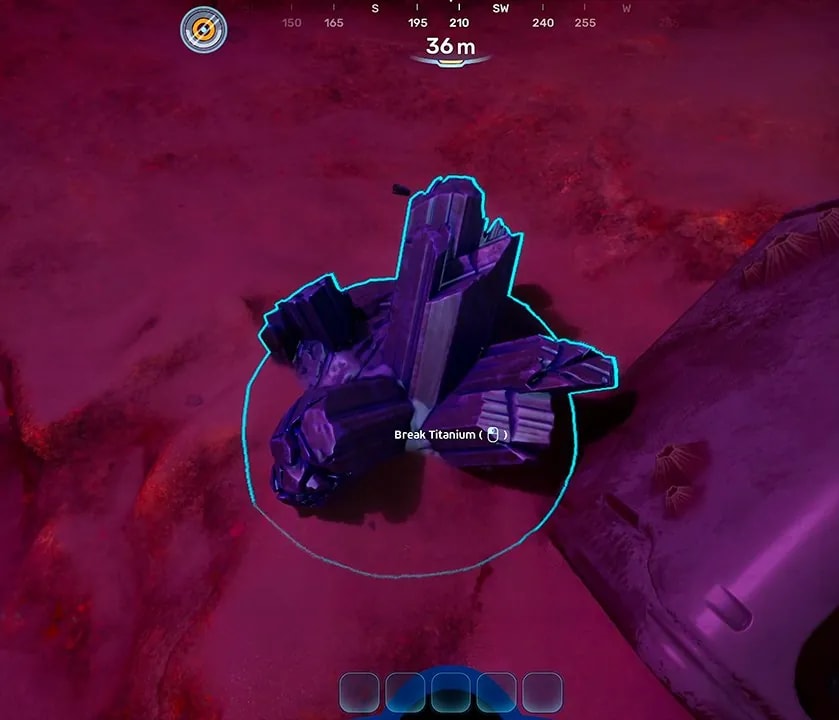
The backbone of nearly every build and recipe in the game. Titanium turns up all over the map, but caves are by far the quickest place to farm it, and you can convert any Metal Salvage you find into Titanium at the fabricator, so never swim past a piece of scrap.
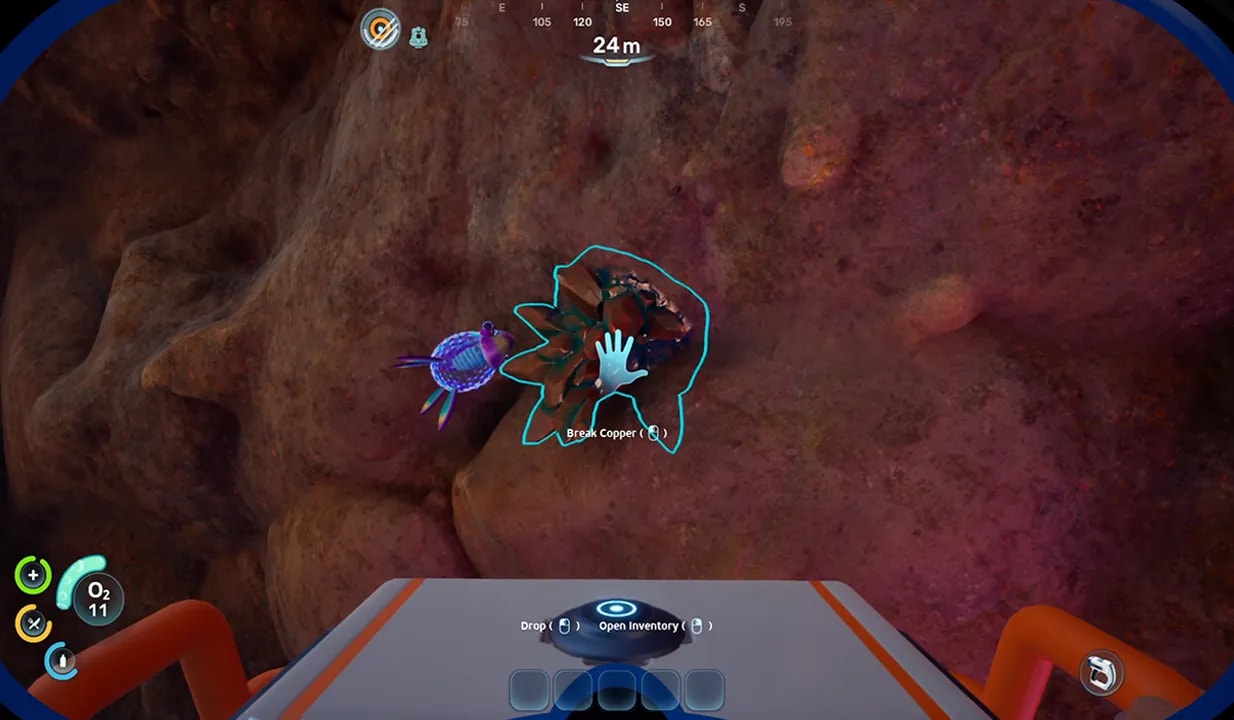
Your other constant early need, used in batteries, wiring and vehicle parts. Copper grows in caves and clings to the overhangs in the middle of the open ocean, hanging off ceilings and the sides of rocks. It tends to spawn in big patches, so the moment you find one cluster you are usually set for a long while.
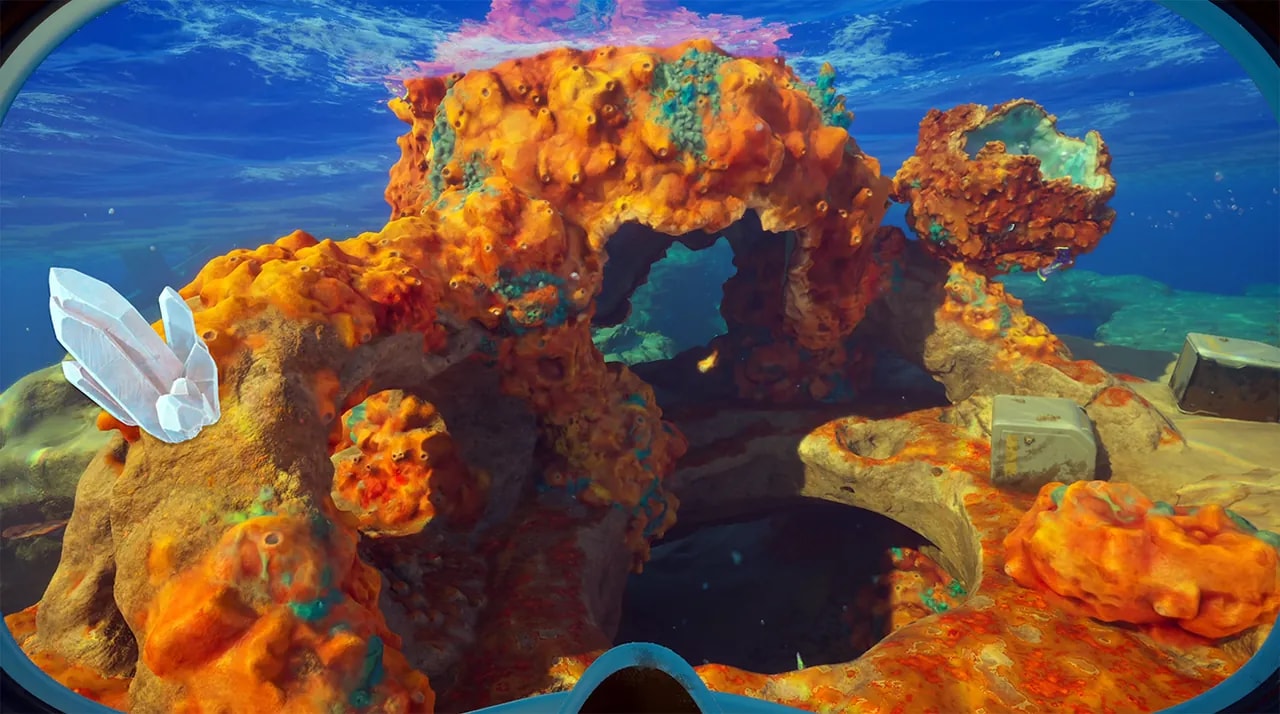
Easy to overlook and very easy to need urgently, because the Scanner depends on it. Quartz lives inside the coral domes scattered around the spawn shallows. Crack a few open, grab the Quartz, and you are ready to build glass-based gear.
Your first mid-tier ore, needed for air tanks and several blueprints. You will see your first Silver inside the loot-heavy cave north of the lifepod (the "OP Cave" below), and there is a steady supply around Blackbox Chap and Blackbox Quaker to the north.
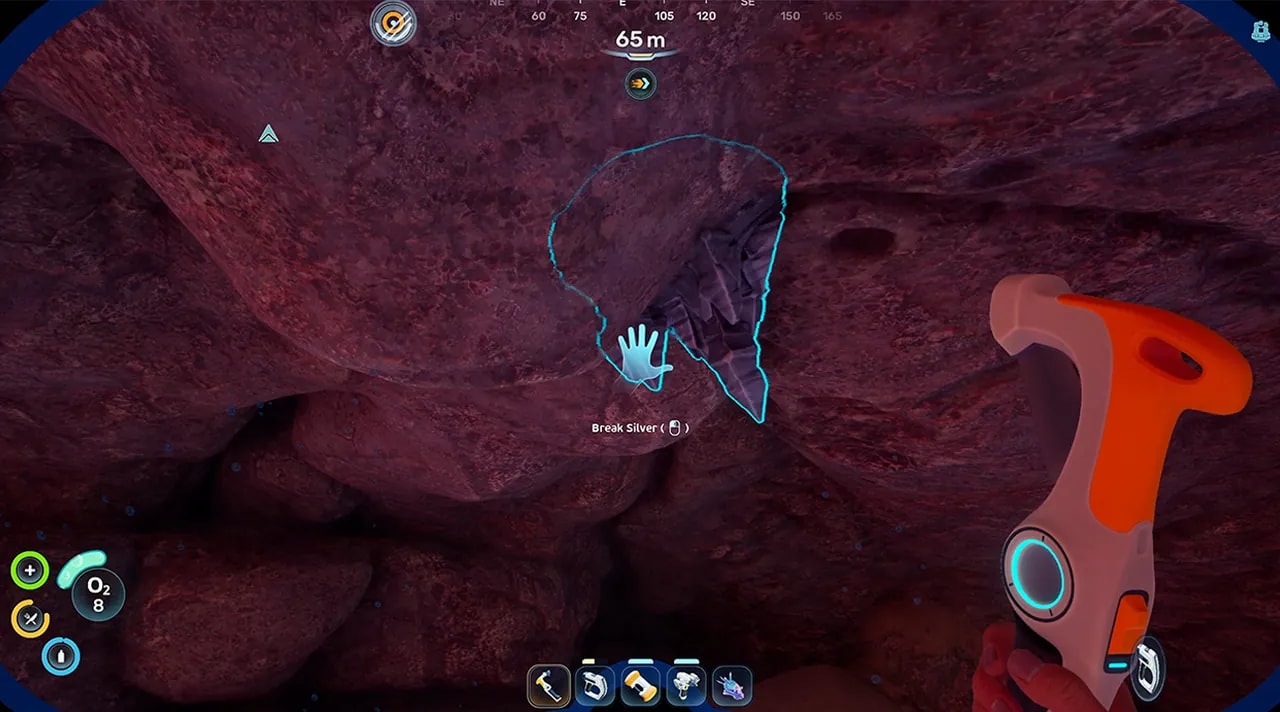
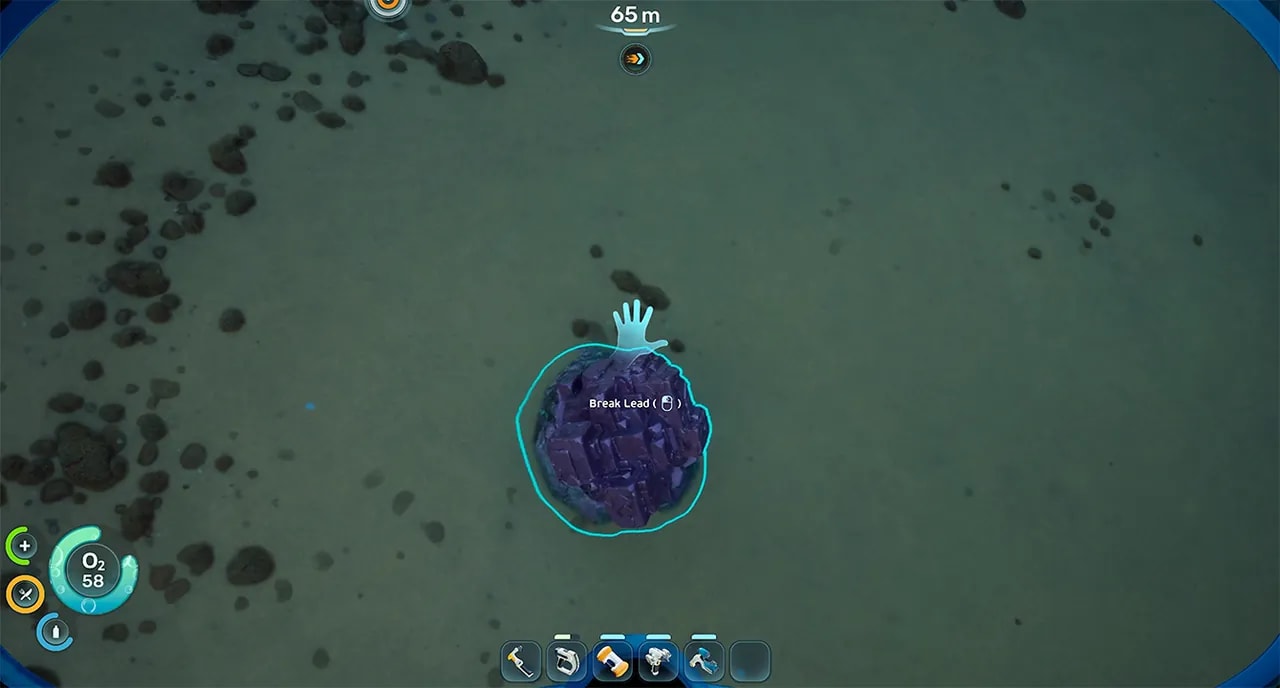
Used for the Sonic Resonator and radiation-shielding builds. Lead is scattered around the area northeast of the lifepod, right next to the first proper base you will build. It is unglamorous but you will need a chunk of it at a very specific moment, so grab some whenever you pass through.
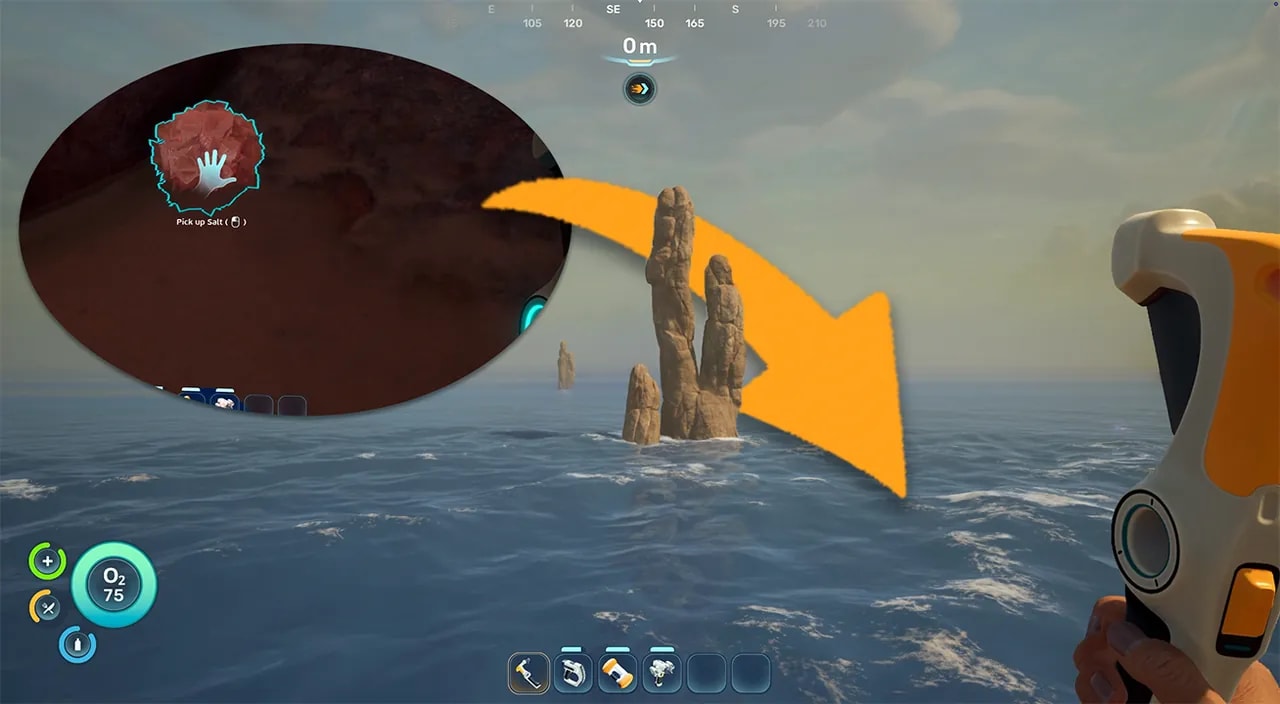
Salt is one of the first staples you will go looking for, since it feeds your cured food recipes and, more importantly, the Power Cell you need to build your Tadpole. Until you find salt, you ain't going far, so do not skip it. The catch is that it does not sit conveniently next to the lifepod like Titanium or Quartz, and the in-game databank advice to search sandy bottoms will just send you swimming in circles.
The reliable spot is what players have nicknamed the Coral Crab graveyard, roughly 530 meters south-southeast of the lifepod at about 70 meters deep. Look for the tall thin rock pillars and the big orange domes, which are passive Coral Crabs. Each dead Coral Crab shell has anywhere from five to ten salt nodes on it, so empty your inventory before you arrive and bring a beacon to mark the area. Small nodes you grab by hand, while the large deposits need a Sonic Resonator to crack open for five Salt each. Once you have a Scanner Room built, you can have it highlight Salt nodes automatically and skip the manual hunting entirely.
Gold lives in the hot biome southeast of the lifepod, usually deeper and pressed right up against the hottest parts of the rocks. You cannot survive down there until you have the Heat Tolerance adaptation, so Gold is effectively a mid-game ore gated behind Blackbox Wander.

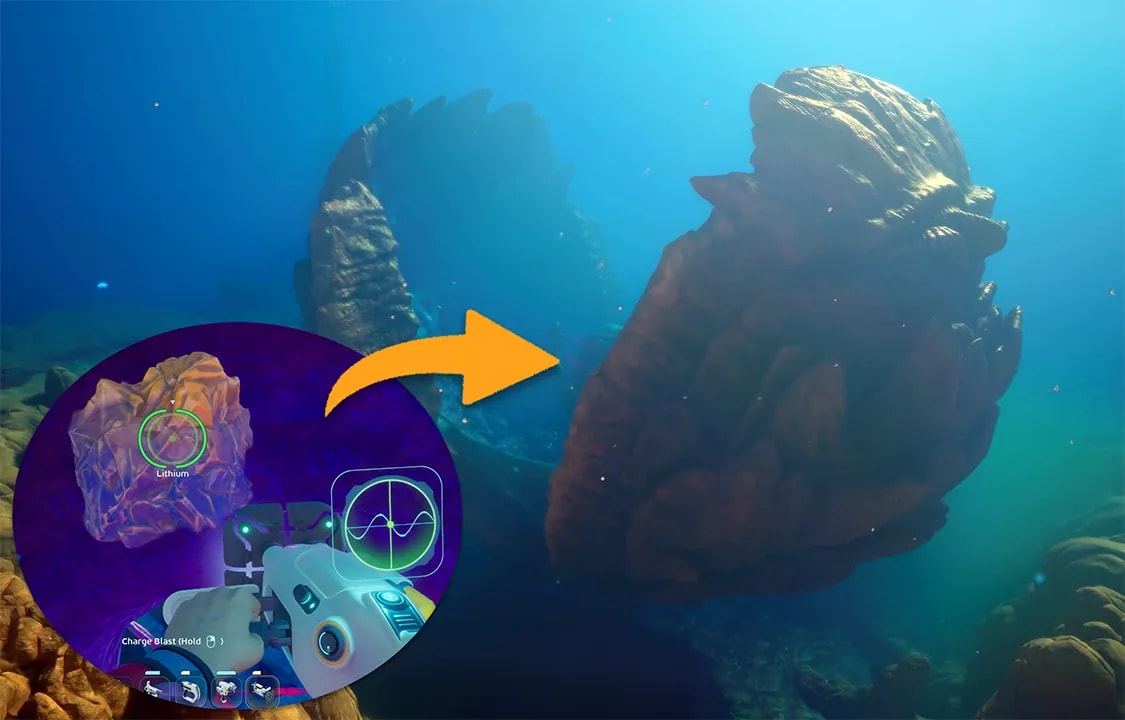
Needed for Plasteel Ingots and therefore the Scout Ray Chassis. Lithium sits inside the Great Jaw, a clam-like structure south of the lifepod that snaps shut the instant you trip its triggers. The Lithium is right in the middle of that closing zone, so this one is a smash-and-grab.
Required for the Modification Station. Celestine sits east of the alien ruins along a descending ledge. Drop down that ledge and you will see plenty of it, just do not push the Tadpole below 250 meters yet because it cannot handle the pressure before the Depth Module.

One of the deep endgame ores, used in Mangalloy Ingots for the final power plant repair. Atacamite grows directly on the seafloor at the depths near the eastern power plant, above the Angel Comb. You will not touch this one until very late, but it is non-optional for the finale.
The other half of the Mangalloy recipe. Troilite grows around the Metal Farm area northeast of the central Angel Comb. It pairs with Atacamite and a Titanium Ingot to make Mangalloy, so you will be farming both together near the end.
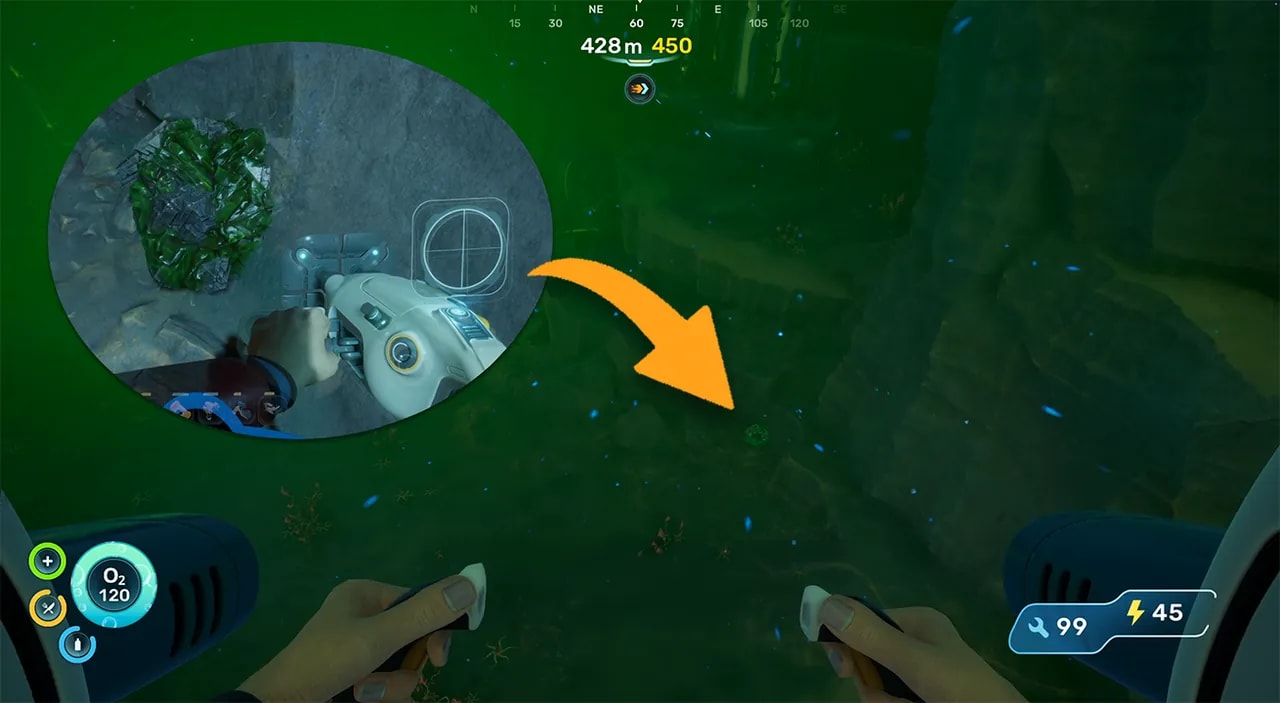
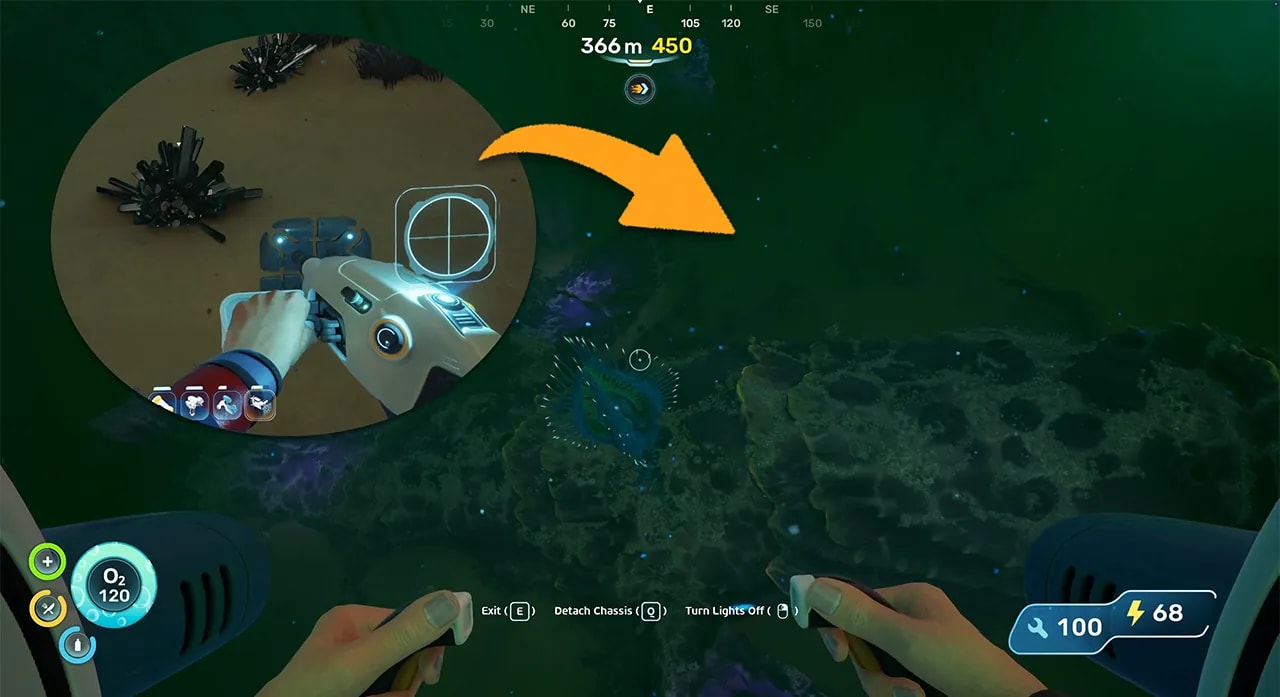
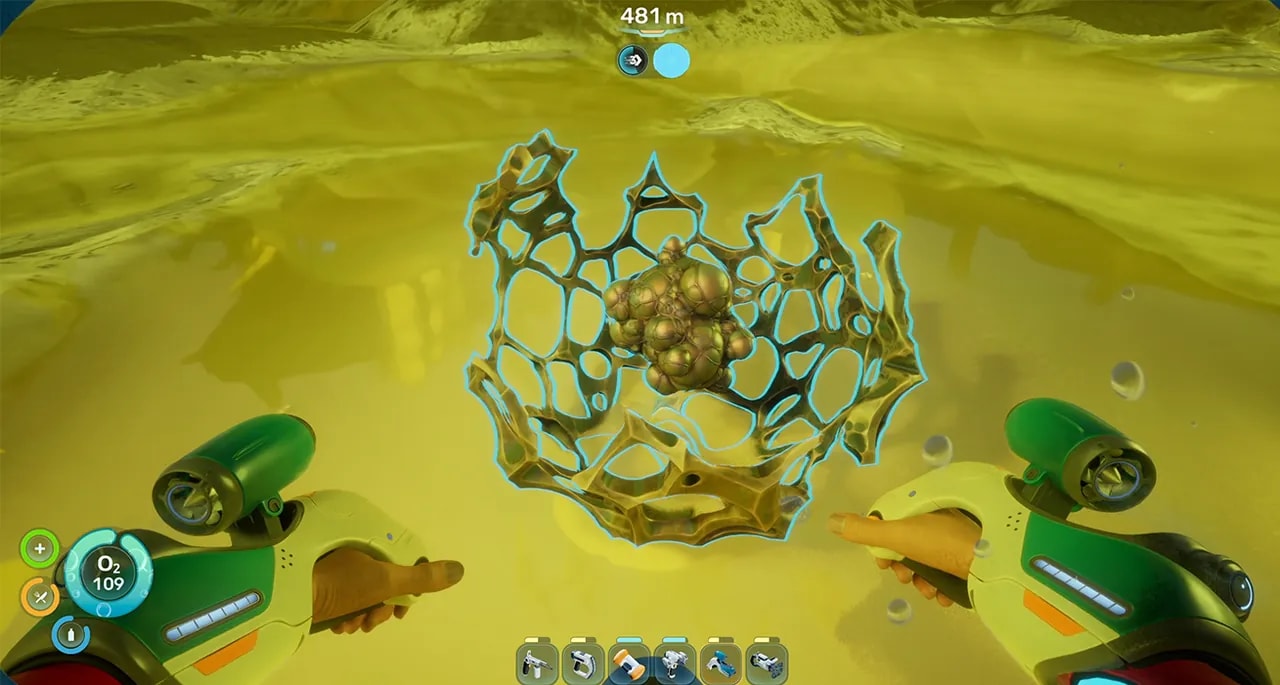
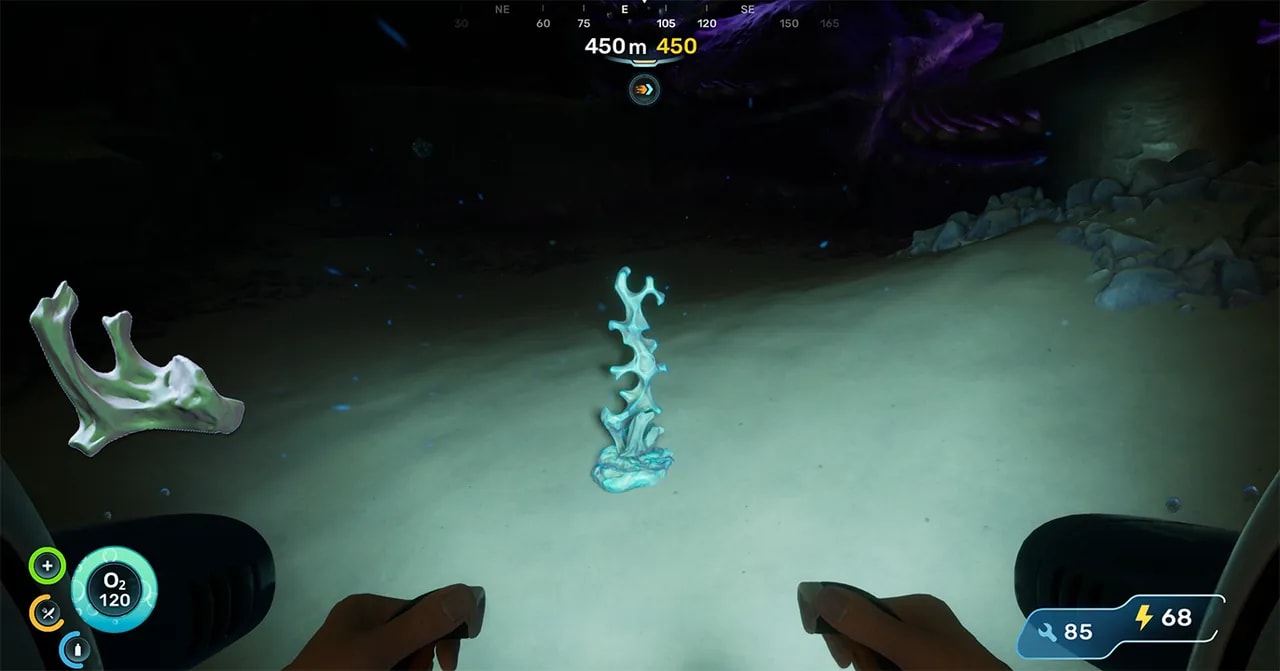
This is the rarest and most aggravating resource in the current build, and you need one for every Metal Farm you want to build. Axum Bacterial Culture grows as a clustered spherical object inside a fractured cage, floating on the glowing yellow runoff pools of the alien Metal Farms in the Karakorum region, northeast of the central Angel Comb. It sits around 450 meters down.
Note, that only about five samples spawn in the current Early Access build, so they are effectively finite.
Conduit Crystals power your high-end tool modifications, specifically the Feedback Resonator and the Bioscanner, and there is no way around them if you want meaningful late-game progress. The problem is finding them, because they do not cluster the way most ores do. They appear as large deposits that need the Sonic Resonator to break, found on the cliffs overlooking the Angel Comb directly below the Power Plant, east past the Alien Ruins.
The final turbine repair asks for ten Titanium Ingots, ten Strontium and ten Mangalloy Ingots, so Strontium becomes a priority once you reach that step. The smart move is to build several Processors and Metal Farms and churn ingots in bulk rather than mining each one by hand. More on that in the finale section.
This is the gear that turns you from a swimmer who drowns a lot into an actual explorer. We are giving the tool locations proper landmark directions here because missing one of these will stall your whole run.
Your first real piece of equipment. It does not damage creatures, despite how much you will want it to, it is purely for harvesting plants and ores. Craft it as soon as you have Titanium, because almost every plant resource in the game wants this tool. While you are in that first cave grabbing materials, also collect Acidic Raion Pouches from the brain-shaped plants, since those become batteries, and their Medical Gel Sac doubles as medkit material.
The single most important tool in Subnautica, full stop. It needs Quartz from the coral domes plus a battery. The Scanner reveals extra info on everything and, crucially, scans wrecked equipment fragments to unlock new blueprints. Get into the habit of scanning literally everything you see, because half of your progression is locked behind fragment scans.
Fiber and Rubber confuse a lot of new players. You get them by harvesting the plants around spawn with the Survival Multitool, which gives you Fibrous Pulp and Lucifer Rotsacs. Those let you craft the Air Bladder, which sounds like a throwaway item but is actually a fast ride to the surface and a portable air reservoir. Craft Basic Fins around the same time for movement speed.
The Repair Tool fixes sealed doors and broken structures, and you cannot reach several mid-game rooms without it. Fragment one is in the loot-packed "OP Cave" north of the lifepod (squeeze through the narrow opening to the abandoned base inside). Fragment two is at Blackbox Chap to the southeast. The third and final fragment is back at a location just south of the lifepod from the very start of the game, which you can finally reach once you have more oxygen and the Tadpole. To actually craft it you need Sulfur, so snatch a single Sulfur from the hot biome east of the lifepod and bail before you cook.
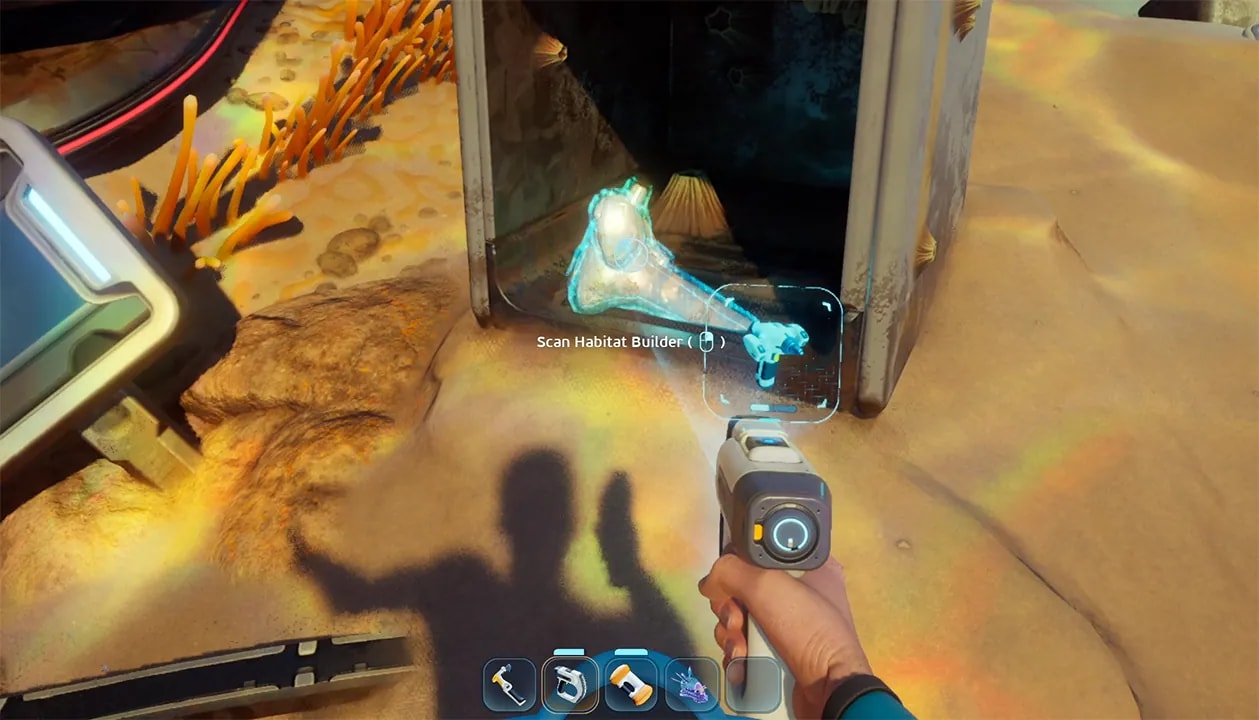
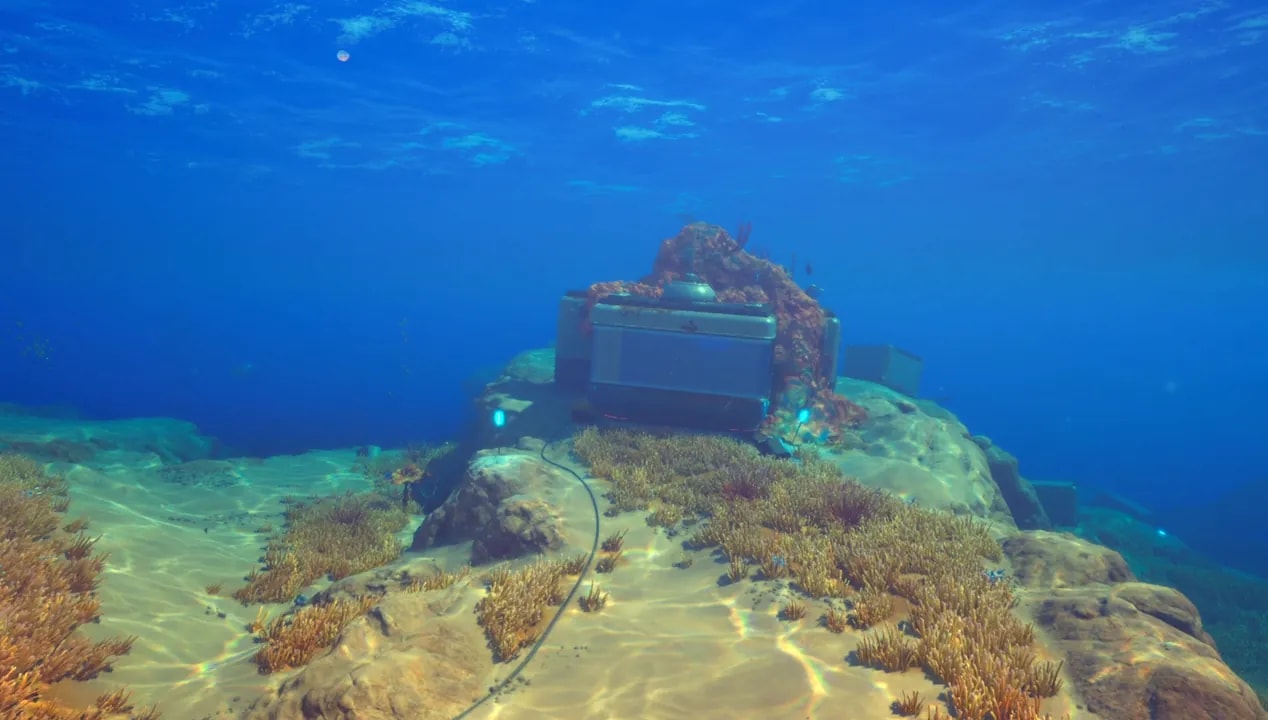
Once NoA has sent you a few messages, head to the first wreckage just southeast of the lifepod. You can follow the cables along the seabed if you lose your bearings, they lead straight to it. Scan a Habitat Builder fragment here, scan everything else inside, and prioritize the Bio-Lab. Power the base with a spare battery and you will find a second Habitat Builder fragment underground in the center, plus a chunk of lore and another talk with NoA.
With the base powered, the Bio-Lab comes alive. Equip the Dash biomod plus a passive biomod of your choice. Dash lets you sprint every five seconds for free using Shift, so lean on it constantly. You will not see new biomods again until late game, so set this and forget it for now. Push past this base and you will find more wreckage holding a flashlight, a beacon, a dive elevator, your first Tadpole fragment if you are brave enough to go deep, and a Hydroelectric Turbine fragment.
This is also the right moment to start your home base. Pick a spot with strong water streams, drop a corridor and a hatch, and slap a solar panel on top for temporary power. Set up plenty of storage lockers, because in Subnautica 2 crafting automatically pulls from nearby storage, so anything in a locker near your fabricator counts as if it were in your pockets.
Blackboxes are your main progression markers, each one feeding you lore, coordinates and usually a key fragment. Work through these three in order as NoA unlocks them.
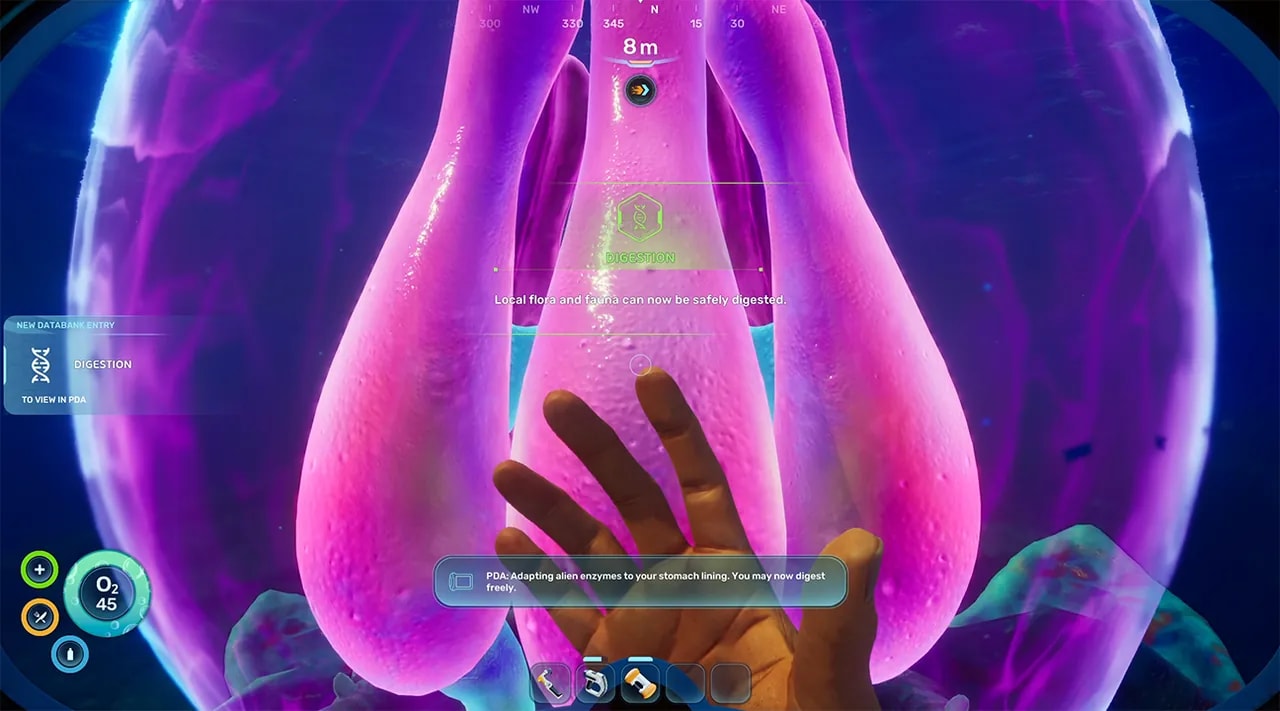
Craft Basic Fins, then head to Blackbox Anita. Northeast of the lifepod on the way you will pass another wreckage holding the second flashlight fragment. Watch out for Hammerheads around here, they are aggressive and genuinely annoying. At Anita you find the Angel Comb, and inserting your hand into it grants an adaptation that lets you eat cooked fish, which finally opens up the ocean as a food source. Explore the nearby caves too, one of them hides a Wakemaker fragment and, deeper in, a working base where you can scan the Biobed to set a custom respawn point and unlock a larger inventory.
Southeast of the lifepod. Inside you get plenty of Silver, the second Repair Tool fragment, the first Bio-Reactor fragment and the Floor Locker, plus another inventory upgrade. Just outside the cave is another base with the second Wakemaker fragment. Craft a Habitat Beacon while you are passing through your base.
Travel north from the lifepod toward Quaker and you will pass through Camp One, which holds the third Wakemaker fragment, a Scanner Station you can scan through a door, and a Power Cell Terminal. Continue north at a bearing of roughly 345 degrees to Quaker itself. Here you complete a Hydroelectric Turbine, which is crucial, and pick up the first Sonic Resonator fragment, fully unlock the Battery Terminal, and grab the Room recipe data card from NoA. Behind the base is the second Tadpole fragment and a cave with another inventory upgrade and extra Silver. Head east from here to also unlock a Power Transmitter.
Now make your base actually functional. Building next to a water stream lets you stack Hydroelectric Turbines in the current and feed them back with Power Transmitters, which is the cleanest early power source in the game. Add a Battery Terminal and keep at least one spare battery on you to recharge as you go. Build a Processor for ingots, water and Strong Acid, a Scanner Station, and a Biobed for a respawn point. Once you have Salt you can also make infinite food from Fibrous Pulp in the Processor, the same way you make infinite water.
Worth a special mention is the cave north of the lifepod, slightly left of the earlier wreckage, that we keep calling the OP Cave. Follow the cable from the small base there and it leads you into a cavern absolutely loaded with ores, including tons of Copper and your first Silver, plus air pouches and blue Bloom Saps for oxygen. Squeeze through the narrow gap inside to reach an abandoned base holding the first Repair Tool fragment and an extra hotbar slot. Keep this cave bookmarked, it stays useful deep into the run because of how ore-dense it is.
The Tadpole changes everything, so this is the milestone the whole early game builds toward. You need all three Tadpole fragments first: one deep past the first wreckage, the second behind Blackbox Quaker, and the third just northeast of the Quaker Tadpole spot in the area where you also complete the Power Cell Terminal. Then build a Moonpool and a Vehicle Fabricator using Titanium and Copper fused into ingots at the Processor.
The last hurdle is the Power Cell, which needs Strong Acid, which in turn needs Necrolei Cysts. Go northwest from the lifepod about 350 meters into the biome where the Stilt Orbs grow, harvest the Cysts with the Survival Multitool, and craft Strong Acid at the Processor. You also need Salt for the Tadpole itself, found inside a rock roughly 240 meters southeast of the lifepod. With those in hand, build your Tadpole.
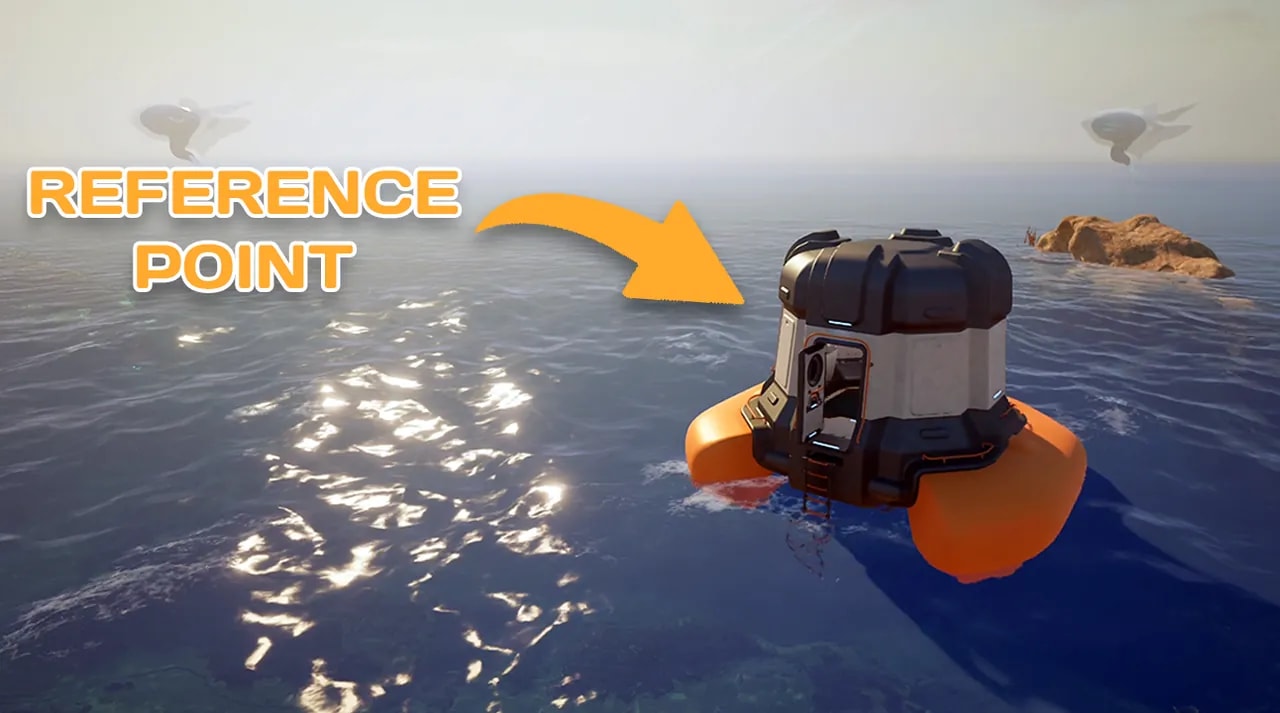
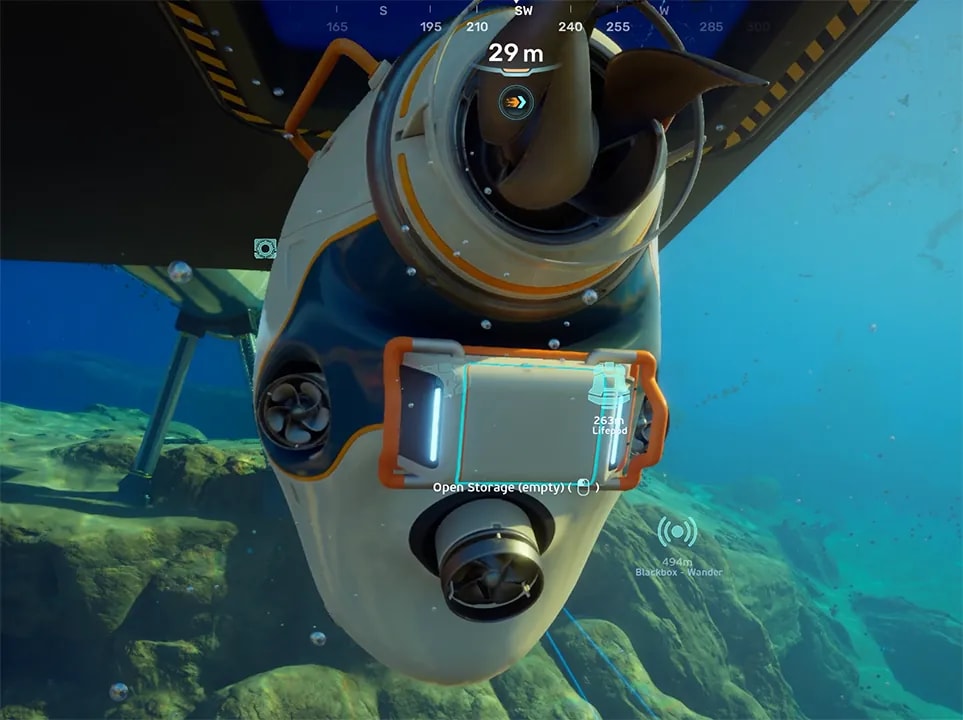
Two strong upgrades to grab right away: slap a Portable Locker on the back so you can haul ore in bulk, and craft the Wakemaker, a tool that makes you much faster and doubles as a flashlight. Build a Tadpole Dock to recharge it, and always carry a spare Power Cell just in case you run dry somewhere inconvenient.
Head to the Blackbox Wander region next. Near it you will find wreckage that unlocks the Dive Elevator (you cannot enter this particular one until you have the Sonic Resonator), and following the wreckage south leads to an abandoned base where you unlock the Rebreather, a Power Storage fragment, an inventory expansion and the High Capacity Air Tank. Just north of there sits the second Sonic Resonator fragment.
Craft the Sonic Resonator now. The only awkward ingredient is Lead, which you will find northeast of the lifepod right by the base you built earlier. The Resonator is a big deal because it breaks apart the large ore nodes for a flood of resources at once, so your mining speed roughly triples from here. Craft the Rebreather too for better deep oxygen efficiency.
Now finish the Repair Tool by grabbing its third fragment south of the lifepod and a single Sulfur from the hot biome east of spawn. With the Repair Tool done, blast through the floor at Blackbox Wander and you will find an infected plant. Destroy the four Bloom Cankers on it, follow the root to an infected Angel Comb, clear three more Bloom Cankers along the way, then destroy four more anomalies on the comb itself. That earns the Heat Tolerance adaptation, which finally lets you explore the hot biome safely.
With Heat Tolerance unlocked, the hot biome southeast of the lifepod opens up, and it is a goldmine in every sense. You will find Salt, Sulfur and Gold, with the Gold sitting deeper near the hottest rocks. Dive into the central ravine and scan everything, including the parts for a Thermal Plant, which is a must-have power source for any base near heat. Push deeper into the cave for more Gold and a cluster of Blackboxes, plus a base holding the second Power Storage fragment.
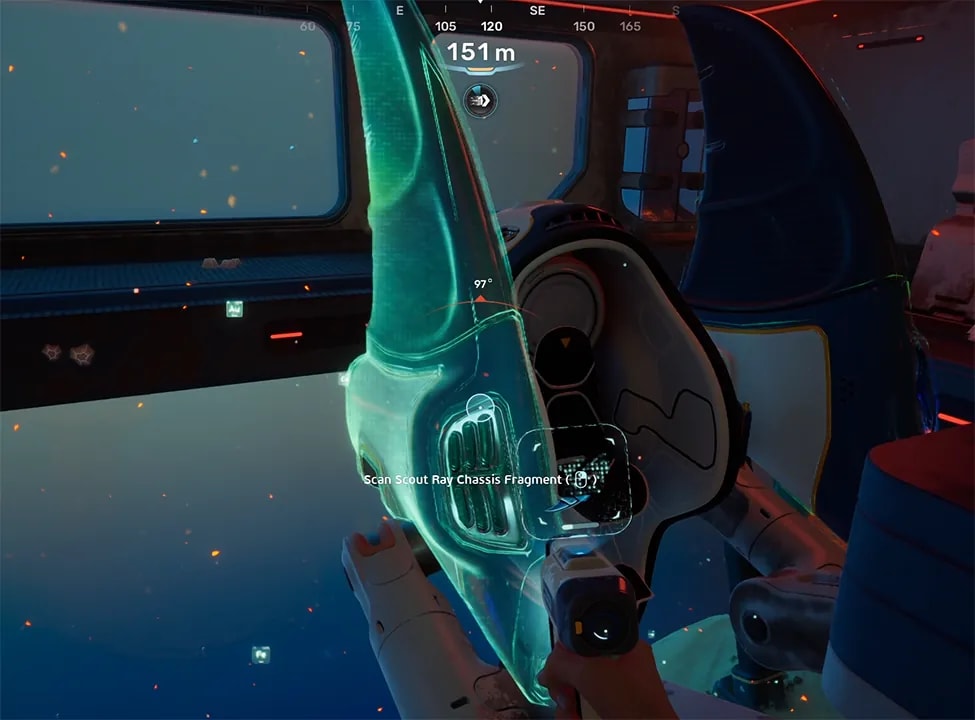
Follow the path northeast to the Tadpole Pens, where you unlock the Scout Ray Chassis, the best Tadpole chassis in the build in our opinion because it massively boosts speed while still leaving room for a Portable Locker on top. To craft it you need Plasteel Ingots, which means Lithium.
Lithium hides inside the Great Jaw, a structure south of the lifepod that snaps closed the moment you touch its triggers. The Lithium is right in the danger zone, along with two fragments of a Portable Oxygen Generator. Dart in, grab everything fast, and get out before it crushes you. With Plasteel made, craft the Scout Ray Chassis and enjoy how much faster the Tadpole moves.
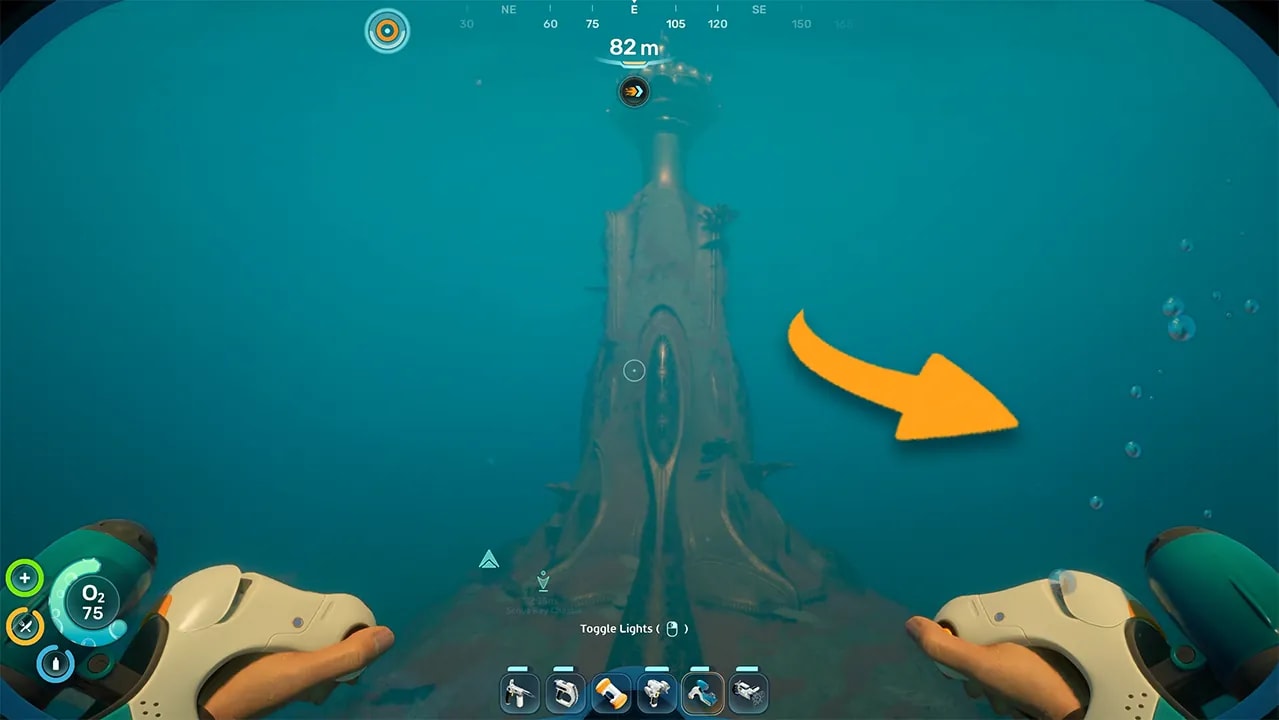
Now head for the alien ruins. On the way, watch for the Collector Leviathan, which will try to grab you, but your Tadpole can tank a hit so just absorb it and escape. You cannot enter the giant ruin structure yet, so treat it as a navigation landmark and explore around it. You will find Improved Fins fragments, a research outpost on the hill with a High Capacity Air Tank, the Engine Efficiency Module recipe, and a Modification Station. Crucially, scan two Grow Bed fragments around the base so you can grow infinite plants and relocate flora from other biomes.
The Modification Station needs Celestine, found east of the alien ruins down a descending ledge. Just do not take the Tadpole below 250 meters until you have the Depth Module. Speaking of which, head to Blackbox Ruby 2, about 1,400 meters out, slightly right of due east. There you grab the second Improved Fins fragment, the first Tadpole Haul Chassis fragment, Creature Enamel (pop the husks with the Sonic Resonator), and most importantly the Depth Module, which lets the Tadpole dive to 450 meters. Earlier, Blackbox Ruby itself (about 100 meters before it sits a shipwreck with the third Bio-Reactor fragment behind a repairable door) continues the story, so clear that on your way through.

Go all the way east and you reach a power plant directly over an Angel Comb, with the new ore Atacamite growing on the seafloor at these depths. Be careful near the eastern edge of the current Early Access map, a leviathan patrols just past the boundary. Northeast of here is a small volcanic area that makes a superb endgame base spot thanks to easy Thermal Plant energy and its central position.
Blackbox Anita 2 sits right above this region next to the Angel Comb and unlocks the Entangled Power Cell. Northeast of there is the Metal Farm area, home to Troilite and the special Axum Bacterial Culture that only spawns in the glowing pools here. Harvest the Axum culture with the Sonic Resonator rather than by hand, since manual harvesting can rarely glitch the culture under the map and you only get a handful in the whole build. Over a nearby hill toward the lifepod you will also find a Cavitation Muffler and an Advanced Battery fragment.
Blackbox Singh is southeast of the Angel Comb, roughly 2,000 meters east of the lifepod, and below it you find the second Advanced Battery fragment, a Work Light, the second Tadpole Haul Chassis fragment and the first Feedback Resonator fragment. The third Tadpole Haul Chassis fragment is on the nearest hill northeast. The second Feedback Resonator fragment sits just before the Metal Farm, marked by blue-glowing plants. Craft the Feedback Resonator and the Bio-Scanner using Conduit Crystal, which spawns around 300 meters deep near the alien ruins. The Bio-Scanner unlocks new biomods by scanning hostile creatures, so if you are feeling brave you can even scan the Collector Leviathan or the Shiver Leviathan, much easier with a friend along.
The last Blackbox, Zip 2, you have basically already discovered. Head just southeast of the Angel Comb onto the hill where a ship sits, because you have to pass through it to reach the parasites growing on the Angel Comb's roots. Destroy them with the Feedback Resonator from long range, since they snap shut if you get close. There are three clusters: one through that ship, one to the left along the root toward the lifepod, and the last straight toward the lifepod. Clear all three, then destroy the parasites directly on the comb itself.
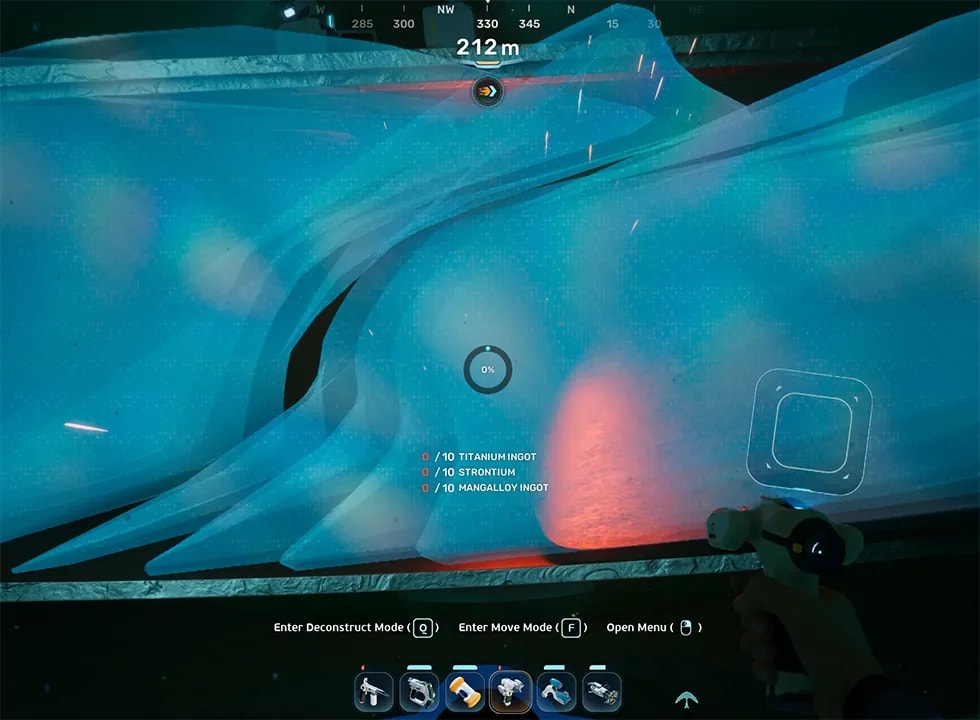
With the comb saved you earn the adaptation to use alien technology. Head up to the damaged power plant and scan the broken section with the Bio-Scanner to reveal the repair cost: ten Titanium Ingots, ten Strontium and ten Mangalloy Ingots. Mangalloy needs a Titanium Ingot, Atacamite and Troilite each, so this is where all that eastern ore farming pays off. The efficient way to do this is to scan the three huge Metal Farm fragments in the Metal Farm area so you can build your own Metal Farms, drop an ore into each, and let them passively collect from the surrounding area while you stack Processors to mass-produce ingots. They do drain a lot of power, so plan your base energy around it.
Once the turbine is repaired, enter the alien room next to the Angel Comb and use the console there to enable the power plant. To actually bring it online, go straight up to a second alien room and complete two short mini-games on the left and right computers, then flip the plant on. This is the satisfying payoff for the entire ore grind, so take a second to enjoy it.
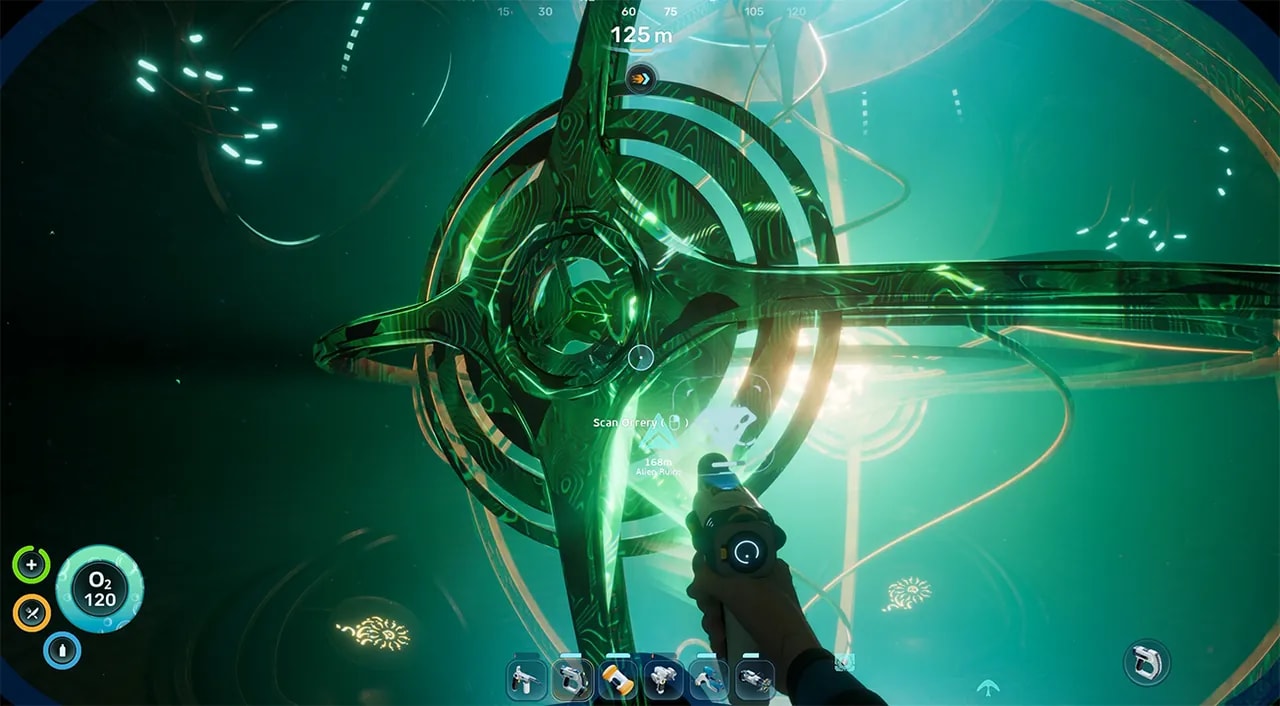
For the closing beat, return to the alien ruins and enter the big structure you have been using as a landmark all game. This is the Alien Observatory, and inside is a giant Orrery. Scan it with your Bio-Scanner to trigger the final story sequence, where NoA reveals you are not simply lost, you are twenty thousand light-years from Earth. You can pull one more lever here, and that is the end of the current Subnautica 2 Early Access build.
That is the full progression from your first Water Slug to the Alien Observatory. If any single step gave you trouble, the video walkthrough on the GameSteed YouTube channel shows every location played out in real time, so pair it with this page. As more of the map opens up in future Early Access updates, we will keep this guide updated, so check back after each patch.
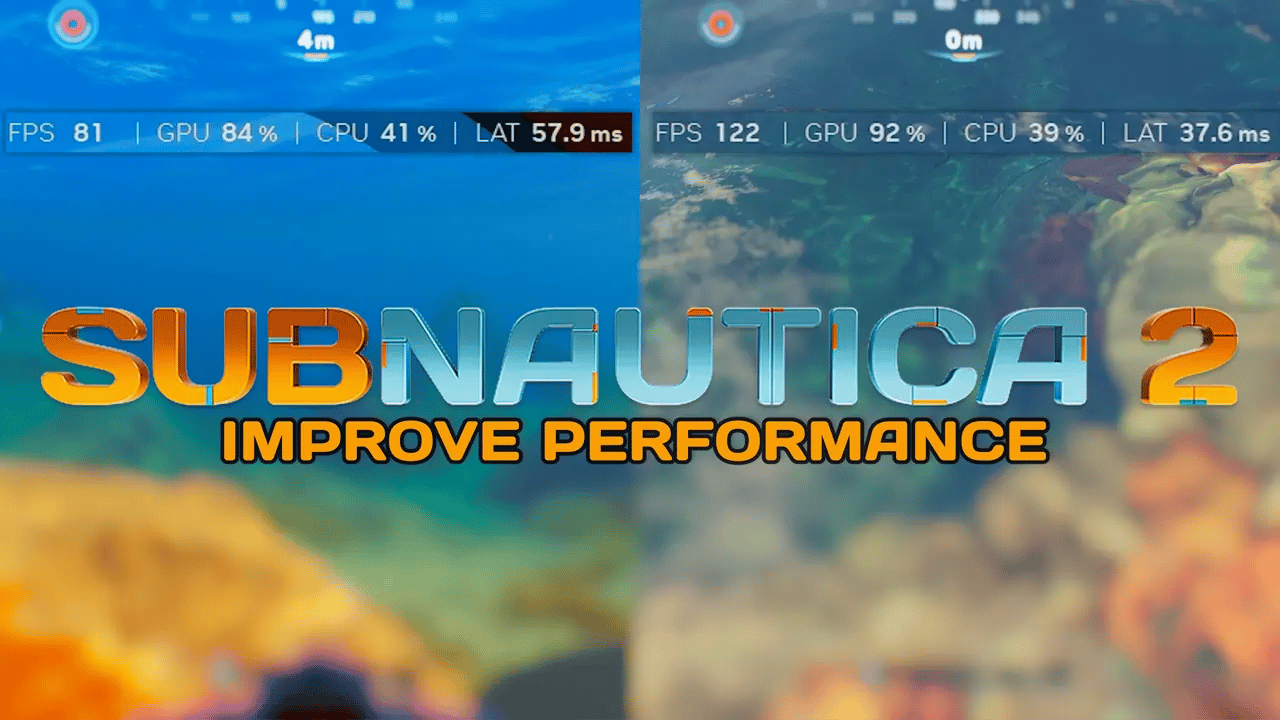
Boost your Subnautica 2 FPS by up to 60% with this simple performance mod. Step-by-step install guide for Steam and Xbox Game Pass players.