Oops! Something went wrong while submitting the form.


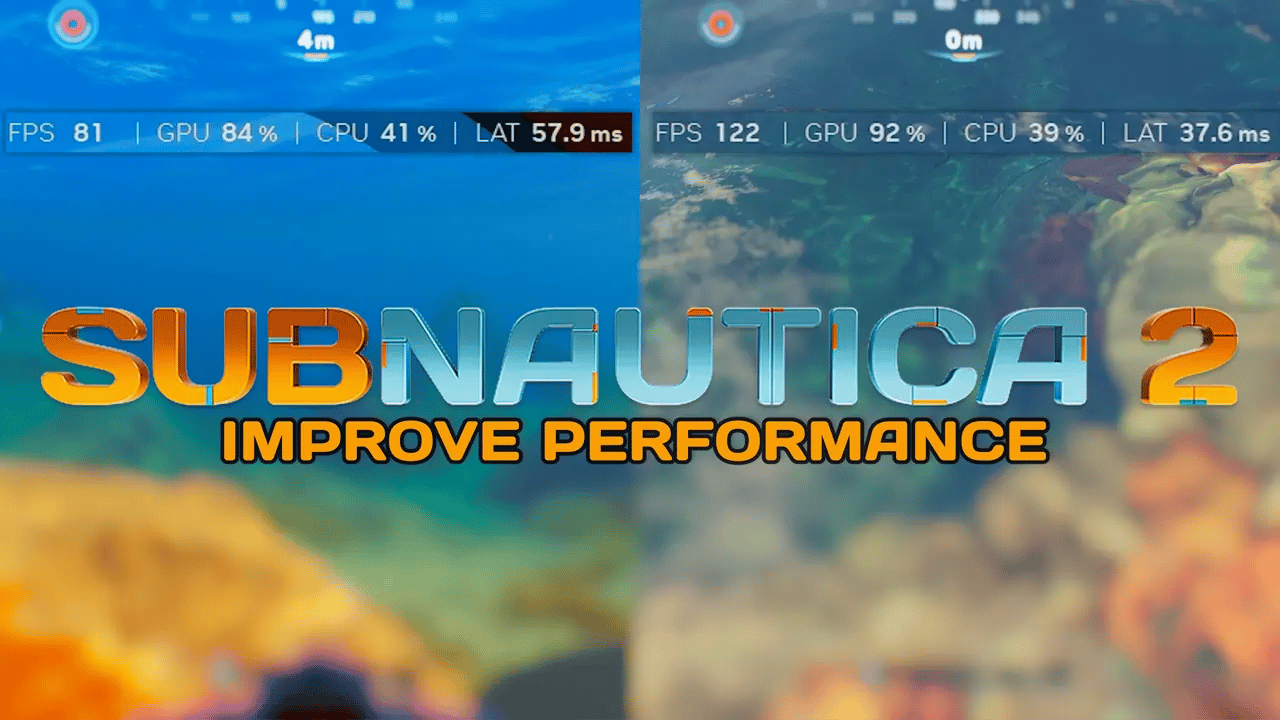
Boost your Subnautica 2 FPS by up to 60% with this simple performance mod. Step-by-step install guide for Steam and Xbox Game Pass players.
If Subnautica 2 is running rough on your PC, you are not alone. The game is still in Early Access and performance can be all over the place, even on decent hardware. The good news is there is a simple mod that can nearly double your FPS without making the game look terrible.
In this guide, we will walk you through exactly how to install the Subnautica 2 Performance Mod step by step. We also have a video guide on this topic on our YouTube channel if you prefer watching.
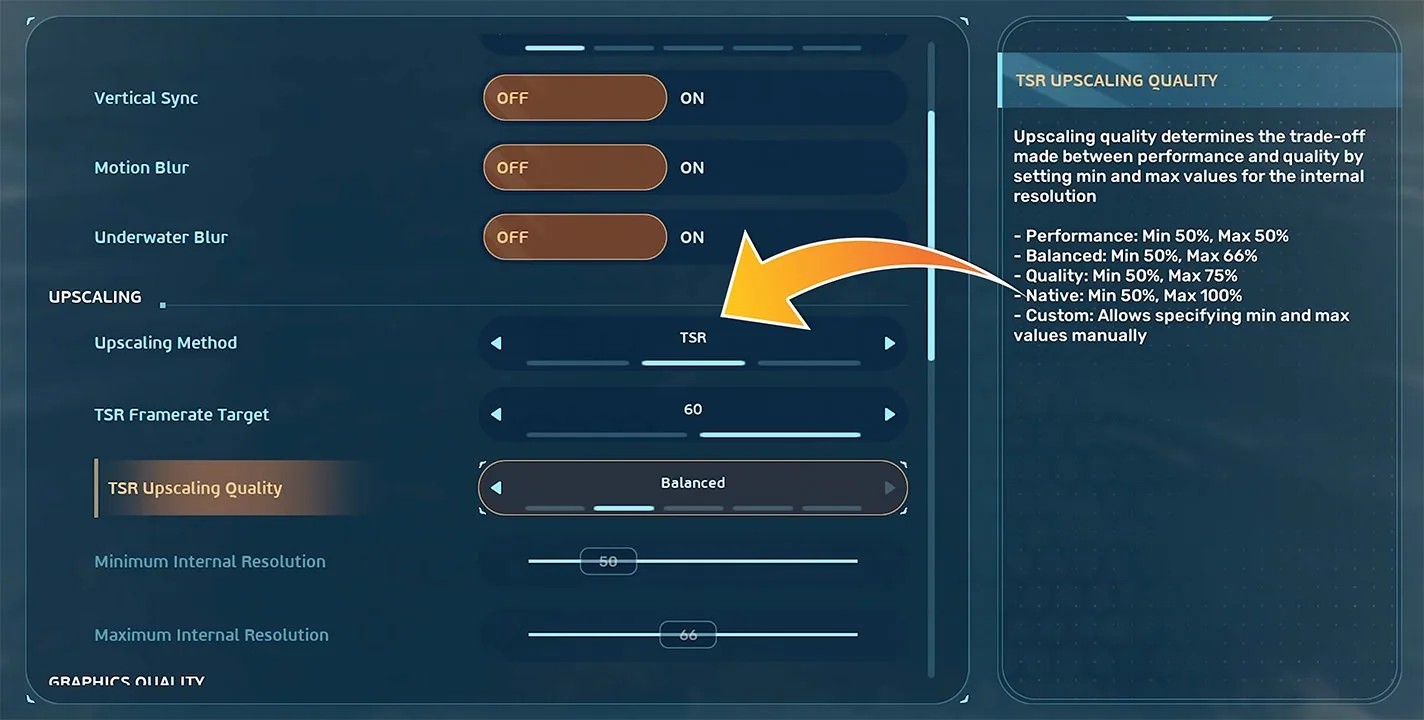
Before you install the mod, make sure your in-game video settings are already optimized. Open your video settings and set everything to Low.
Under the upscale options, enable TSR and set it to Quality or Balanced. This alone can give you a nice bump in performance.
If you are using an Nvidia RTX graphics card (RTX 2060 or newer), you should see an option for DLSS instead. Enable DLSS and set it to Performance for the best FPS gains. If your card also supports DLSS Frame Generation, enable that too. With Frame Generation on, you might not even need the performance mod, but it can still help.
Before installing any mods, it is a good idea to back up your save files. If anything goes wrong, you can just paste them back and everything will be exactly how you left it.
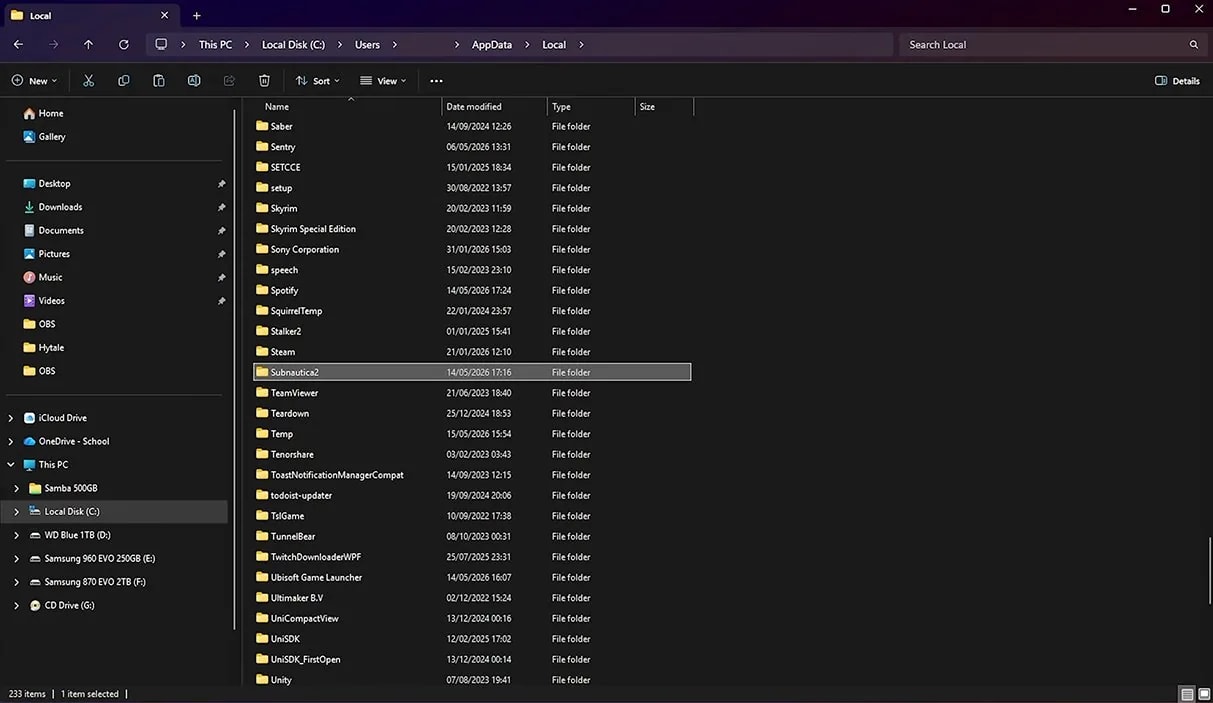
Here is how to find your save files:
If you ever need to restore your saves, just paste the Saved folder back into the same spot and overwrite the existing one.
Xbox Game Pass players: Your save files are stored in a different location and are synced through your Microsoft account. The path is %LocalAppData%\Packages\[microsoft-package-name]\SystemAppData\wgs\, but honestly you probably do not need to worry about backing these up since Xbox Cloud Saves handles it automatically.
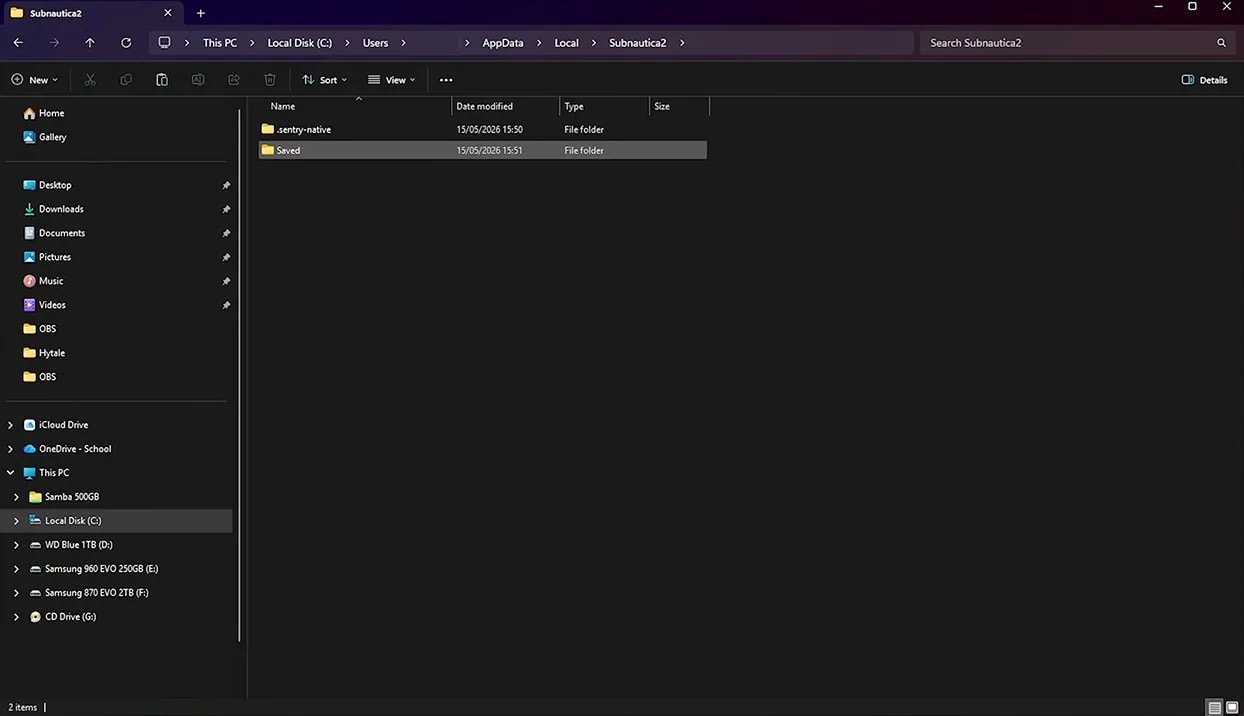
Head over to the Subnautica 2 Performance Mod page on Nexus Mods. You will need to create a free Nexus Mods account if you do not have one already.
On the mod page, scroll down and click on the Files tab. You will see several preset options:
Pick the preset that fits your needs and click Manual Download next to it. Wait for the file to finish downloading.
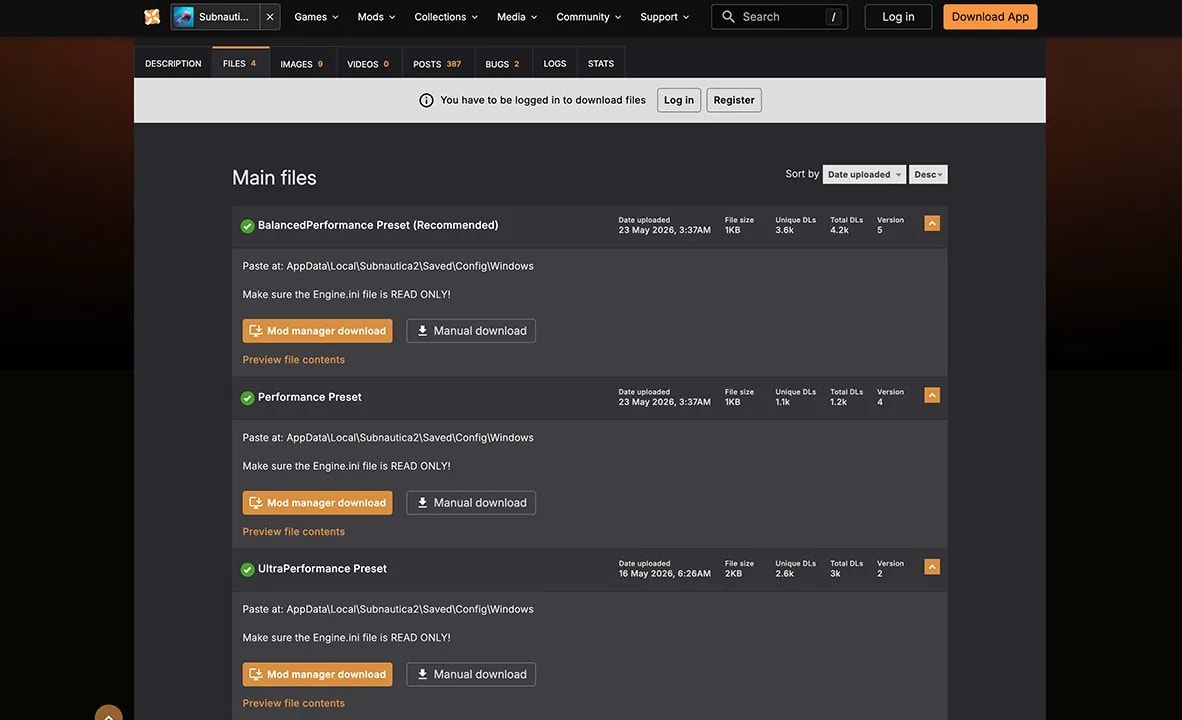
Once the file is downloaded, follow these steps:
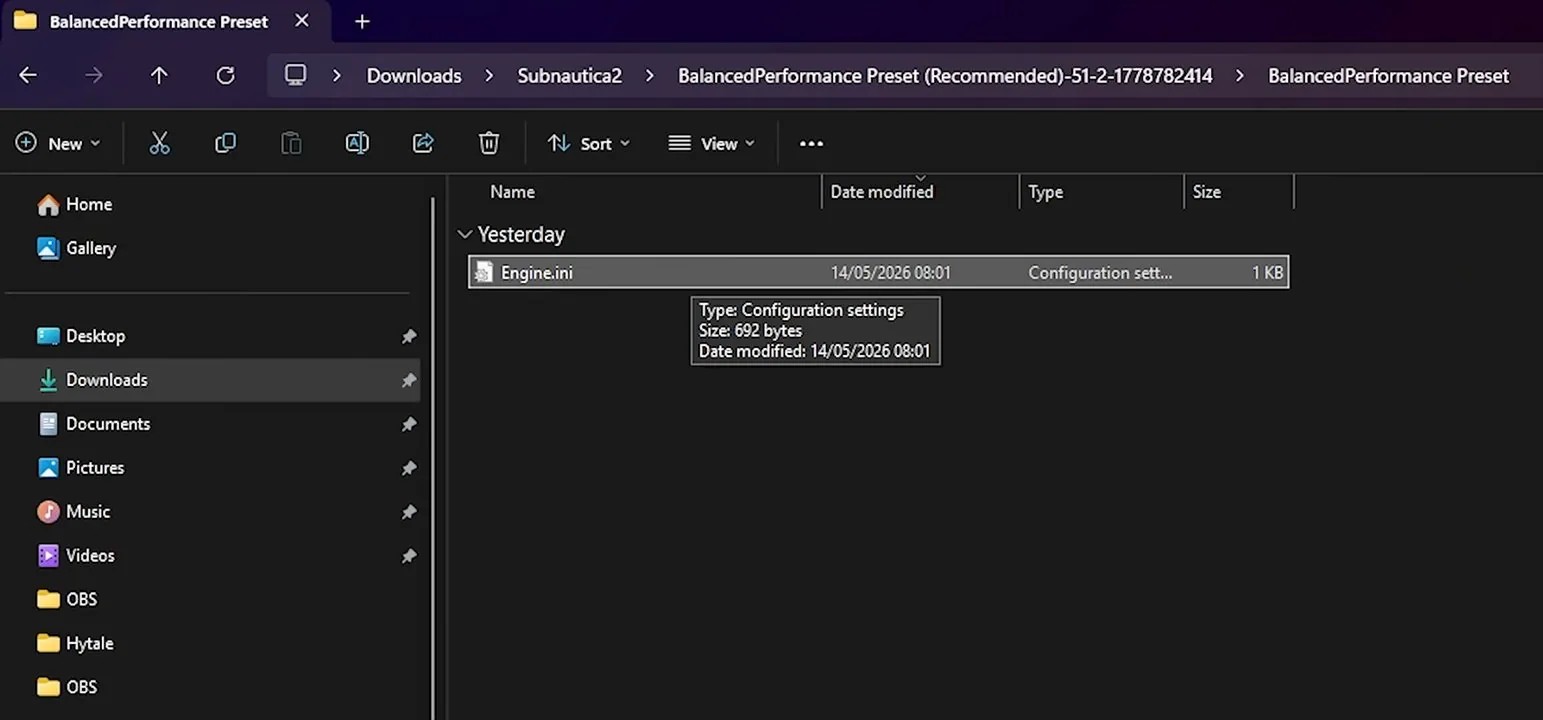
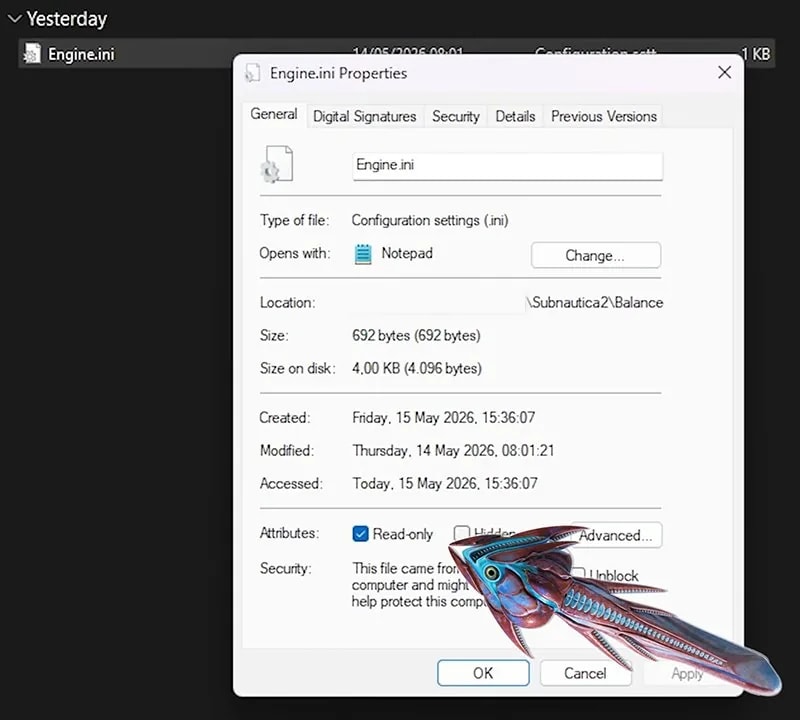
Now you need to copy this file to the right location.
The full path is:
%LocalAppData%\Subnautica2\Saved\Config\Windows\
The process is the same, but your config folder is in a slightly different spot:
%LocalAppData%\Subnautica2\Saved\Config\WinGDK\
Navigate there and paste the Engine.ini file, replacing the existing one. Make sure Read-only is still checked after copying.
That is it. Launch the game and enjoy your boosted FPS.
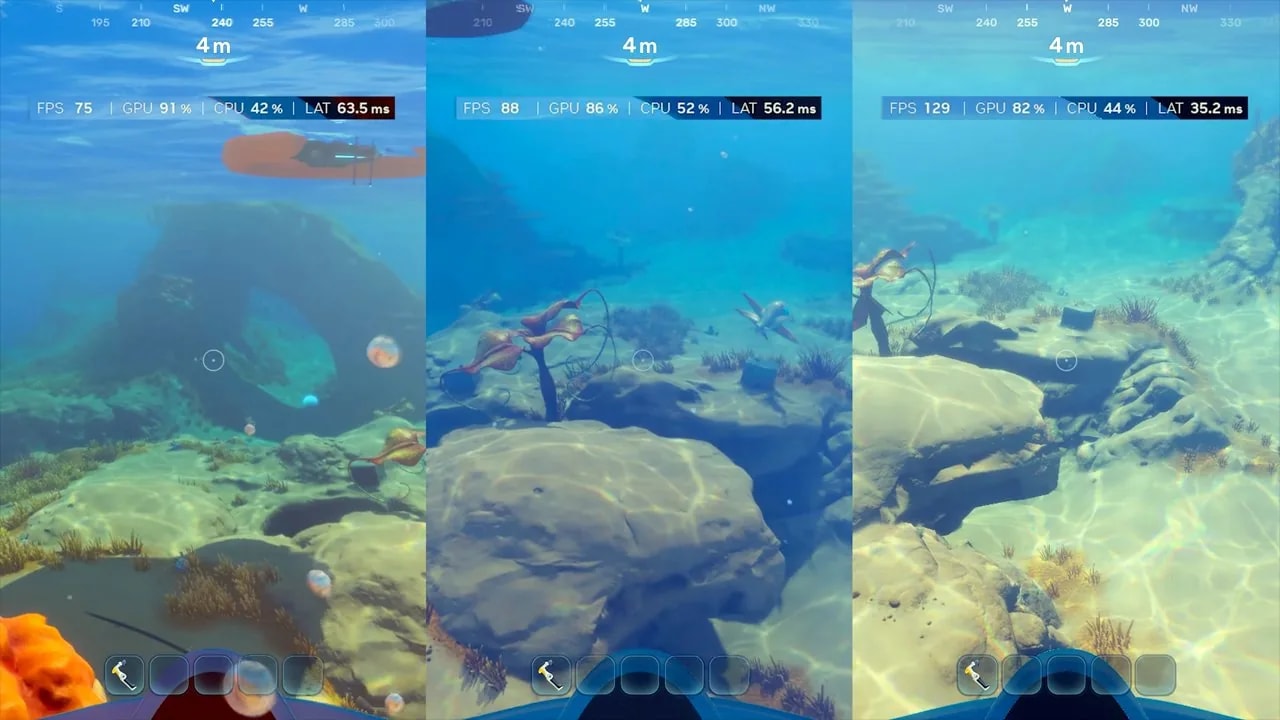
Here is what you can expect after installing the mod (tested on lowest in-game settings):
Your results will vary depending on your hardware, but the percentage improvement should be similar across most systems.
If you want to go back to the default settings, just navigate back to the config folder (the Windows or WinGDK path from earlier) and delete the Engine.ini file you placed there. The game will regenerate a fresh one the next time you launch it.
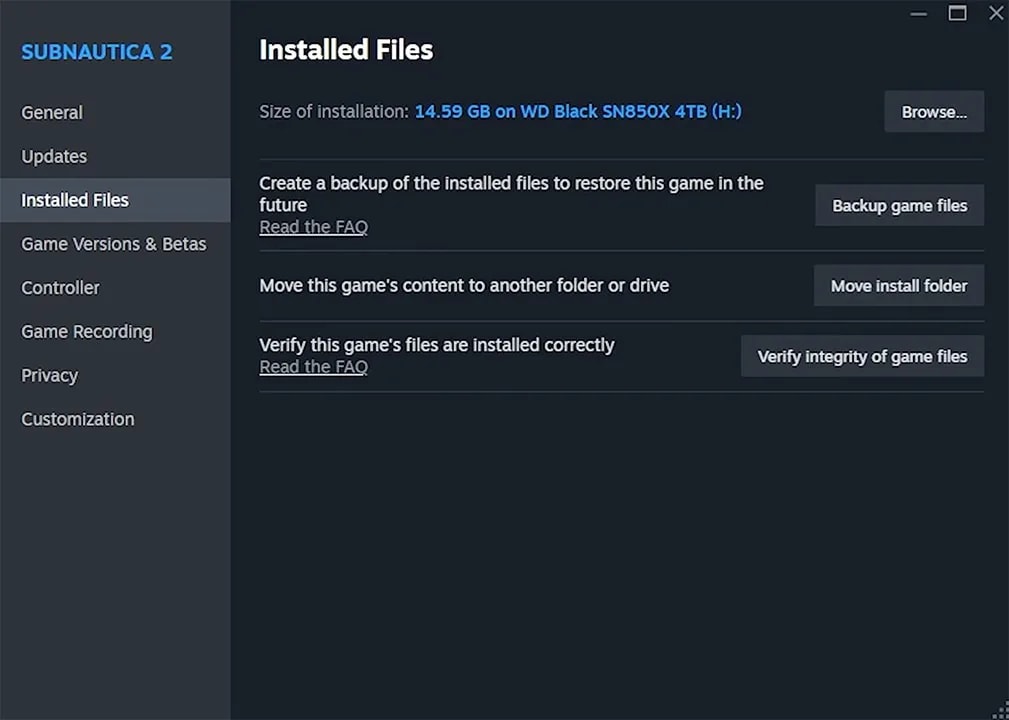
If the game starts acting up after modding, you can verify your game files through Steam:
Steam will check all your game files and redownload anything that is missing or corrupted. This does not affect your save files or the Engine.ini config, so you may need to remove the modded Engine.ini separately if that was causing the issue.

The complete Subnautica 2 Early Access progression walkthrough: every ore, every Blackbox, all the essential tools, and the final power plant sequence.